Hello. My name is Jessica and I am a
Pinterest addict.
I love Pinterest and use it for organizing all the wonderful and lovely things I find on the internet. Recipes, DIY's, life hacks, kitchen hacks. You name it I have it pinned. It's basically getting out of control. I need to weed out the good guys from all the junk. I would love to try to take at least 2 or 3 Pins a week and execute them. See if these things really work or if they are just taking up space on my cyber bulletin board. Today I am taking on a project. This is a Pinterest Pin Test if I may be so bold.
What are we testing today? The ever so popular DIY T-Shirt Scarf. The original pin was found
here and looked like this:
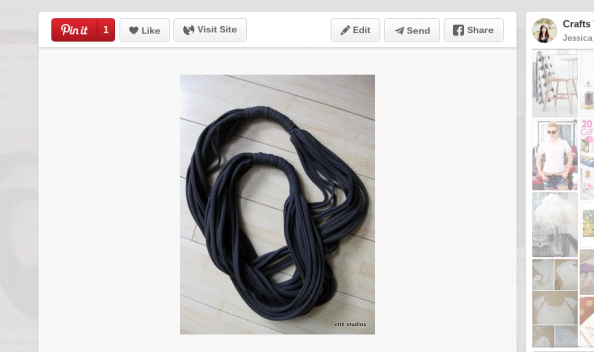
I gave myself a pep talk and thought, "Hey! It looks pretty and looks like something I could handle!" Did mine turn out perfect? Nope. But I didn't throw it across the room like I wanted to at one point. So I give myself extra points for that.
Ok kids. Let's get started.
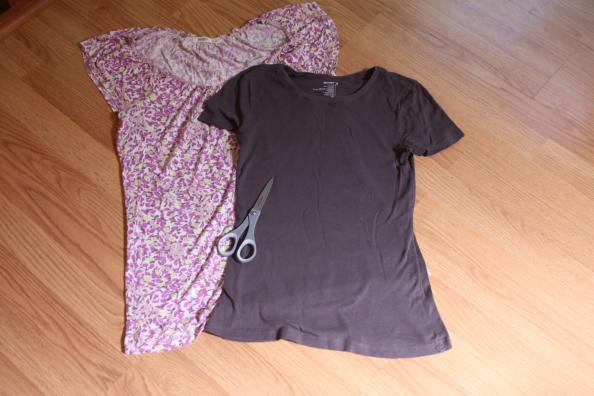
Here are the supplies you will need:
- a t-shirt (I used two different colors but you can use just one)
- scissors
I went by the instructions that the author of the Pin gave and they were pretty straight forward and helpful. Here's how my journey went and some of the road blocks I had.
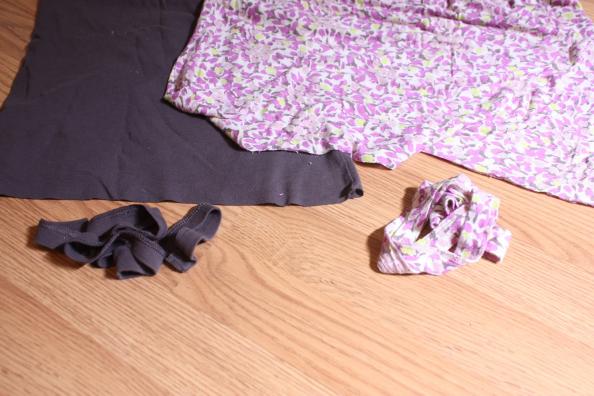
First, my two t-shirts. I had the printed shirt to start out with and thought the second shirt would be fun to add in the mix.
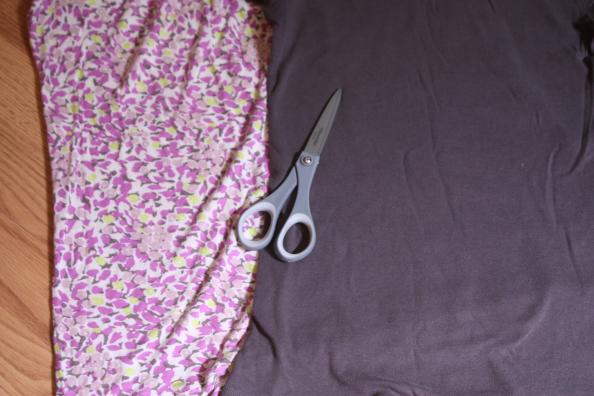
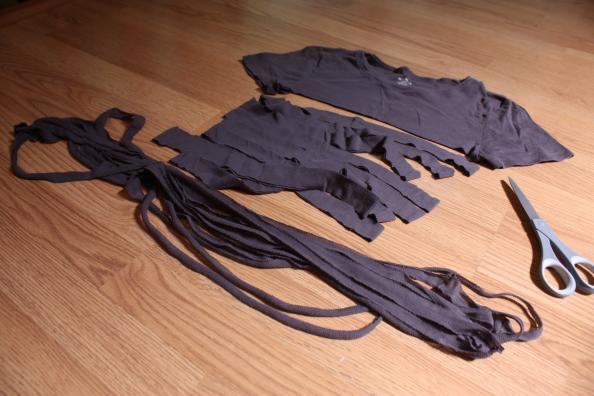
Your first step will be cutting off the hem of each shirt. Save the hem because you will use it later. I found it easiest to lay the shirts out completely flat. The best space I had for this was my kitchen floor since I don't have a dream work studio or anything fancy. But you may have a big kitchen table or craft table that works for you.
The next step will be cutting the "strips". Her directions said to cut 1 inch strips all the way up the t-shirt to the armpit area-ish.
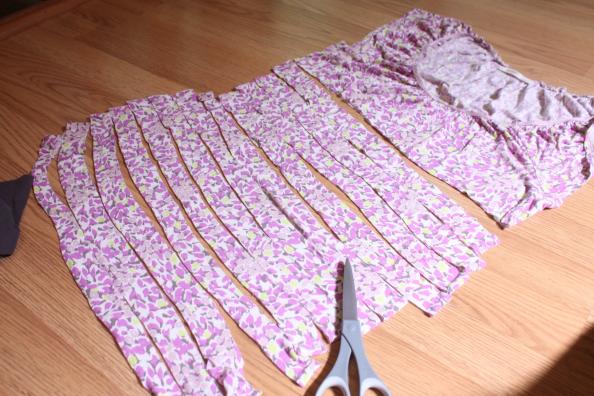
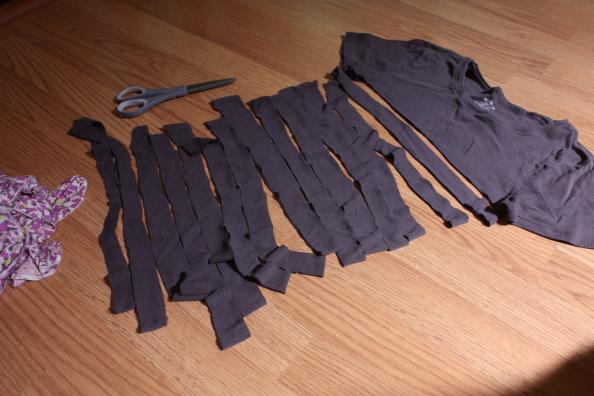
Once all of your strips are cut you stretch each strip. Just pull 'em! I had one or two to actually tear. It was the ones from the dark gray shirt.
Road block #1. I only lost two strips so it wasn't enough to be called a compete loss.
Making progress...
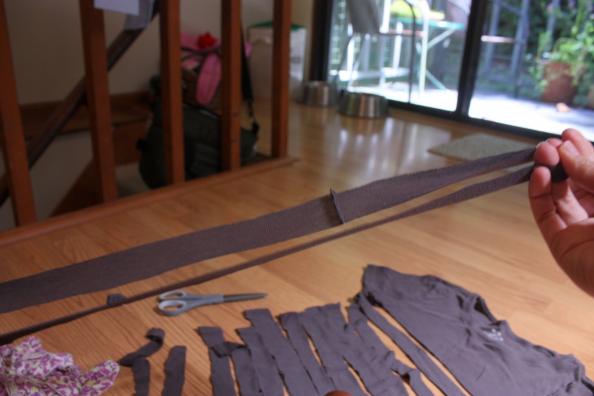
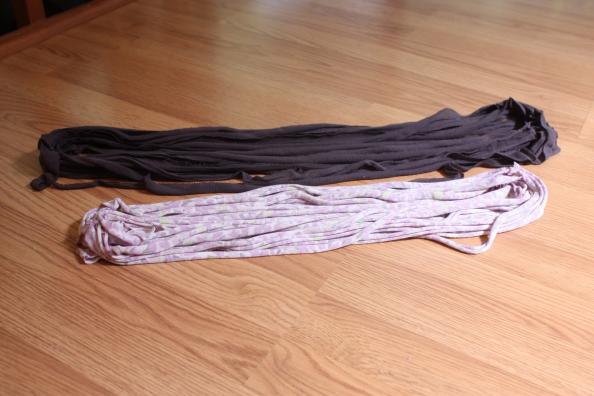
And done! I noticed my dark gray t-shirt stretched a lot more than the printed shirt. Yep.
Road block #2. But that's my fault because I used two different shirts. I pressed on.
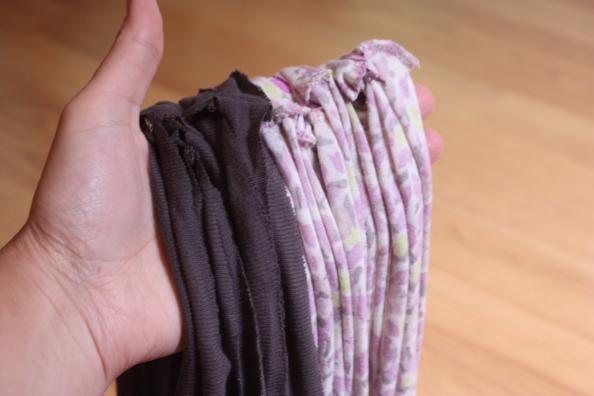
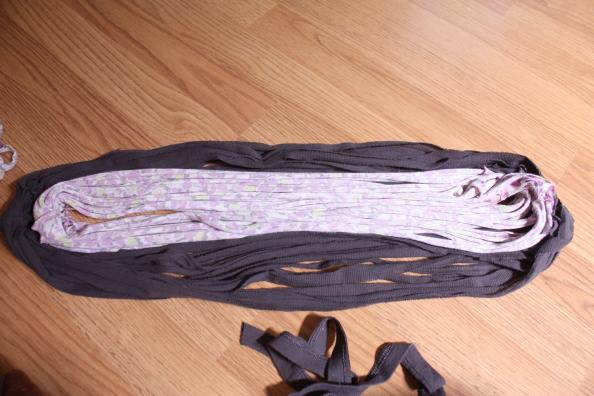
Once all of my strips stretched, I gathered them in my hand with all the seams together. You don't have to but I wanted to hide all of the seams. Gather them all together like this and when you use the hem that you cut off in step one, it will hide the ugly seam part.
Here's
Road Block #3. When I stretched the strips of the printed t-shirt it "rolled" in on itself, with the print on the inside. So I really didn't get the print look that I wanted. Here's what I'm talking about:
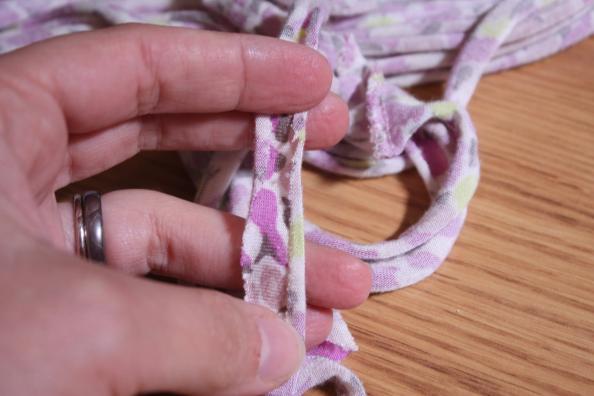
Ugh. Not ideal, but not perfect. Might deter me from trying to use a print in one of these DIY type scarves again. Nonetheless, it didn't ruffle my feathers enough to make me scrap the whole thing. Just one of those things that happens during a DIY that makes you want to hurl it across the room and go eat cake instead.
I put the dark gray loops on the outside and the printed ones on the inside since I had a size difference and all.
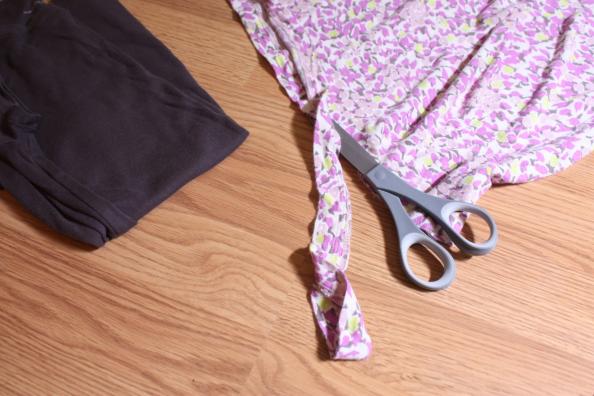
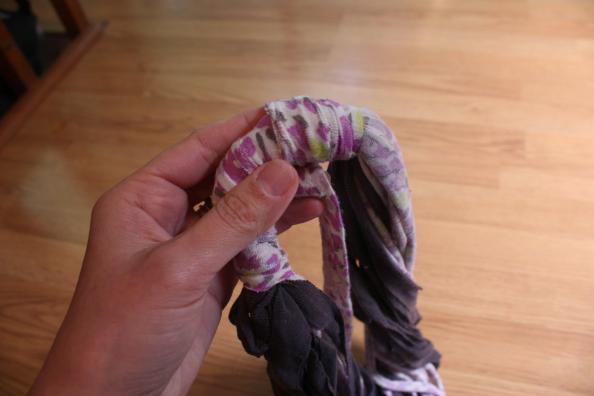
Here's where you need to grab that hem piece. You'll need to wrap it around the seams. Start by tying it off near the seam area. Don't panic. You'll have enough hem to wrap it around it all.
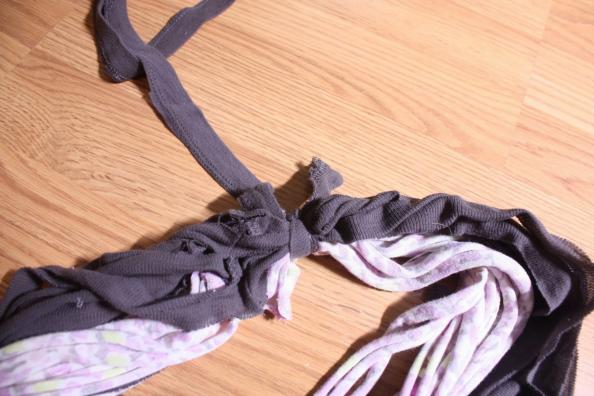
Continue to wrap around and around:

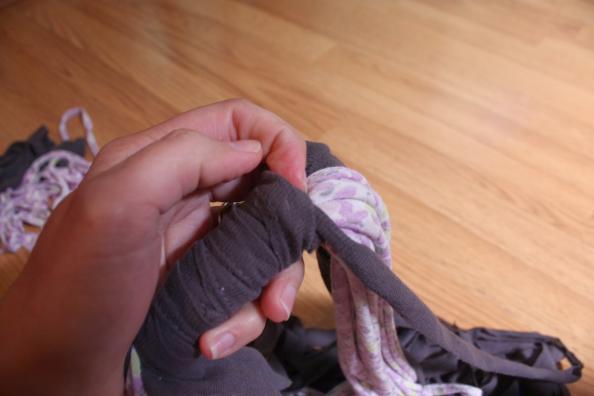
Tie it off to another loop at the end:
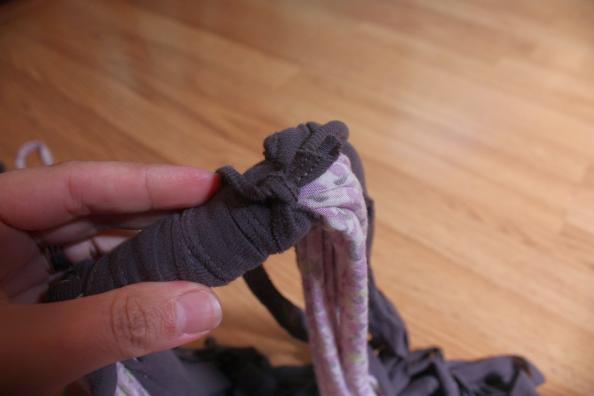
And tuck the knot in. This part was not in the original directions. I was winging it at this point.
Do the same for the other side. If you only had one t-shirt I would assume you would just use one of the loops for the other seam side.
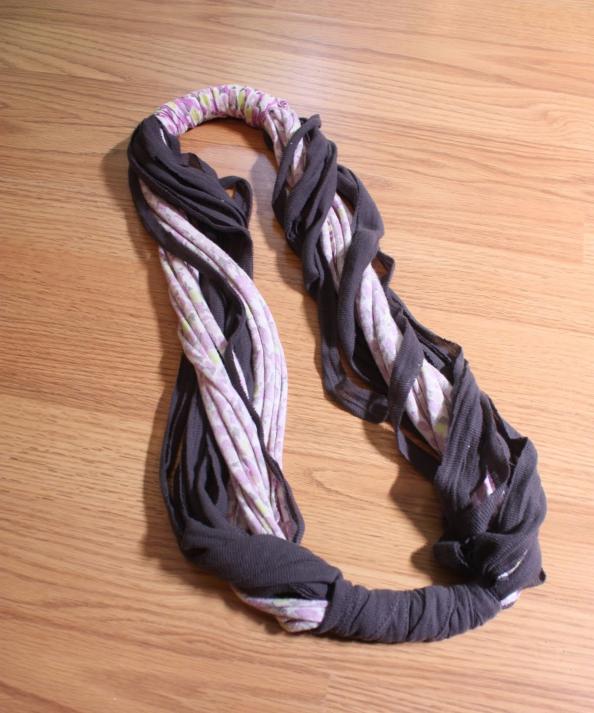
There you have it.
Here is what my finished product looked like. Not much to look at, eh? The dark gray loops were definitely saggy while the printed loops were holding up much nicer. THIS is the point I thought heavily about ditching it.
I gave it one last chance and thought maybe if I put it together with an outfit it will give me a better idea if I really want to keep it around. Here's what I came up with:
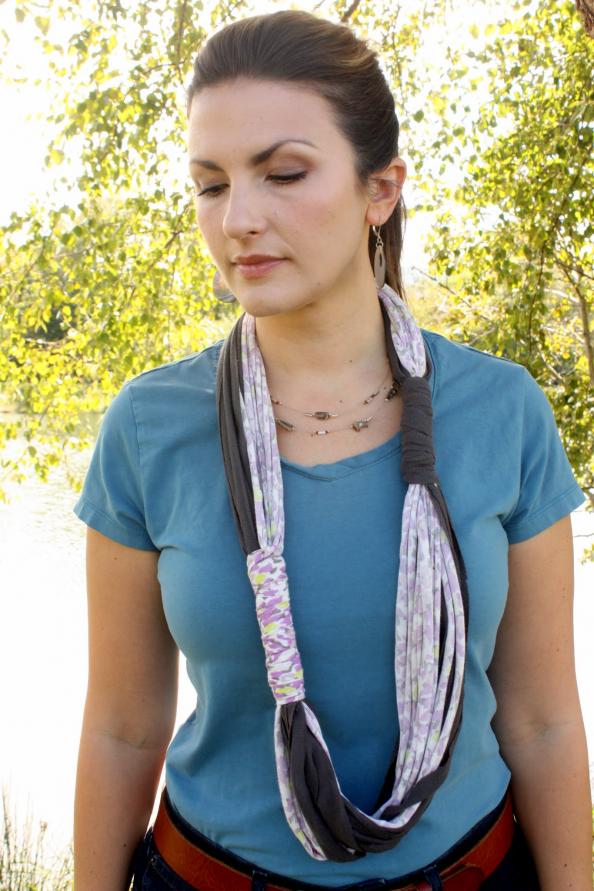
Turns out gravity is pretty cool and kind of helped the saggy-ness. It looks much better on than it does laying in the floor like a dead eel. Plus, I can wear it two ways. Whaddayaknow?!

I will definitely keep this Pin around for the future. It did work! It is a Pin win! I've had some Pin fails in the past that were quite terrible. Although I will probably go with a solid color next time for this project and I might go find a Mens XL at the trusty thrift store. I would love to have a bit more length so I could wrap it around twice.
Have you tried any DIY t-shirt scarf Pinterest projects?